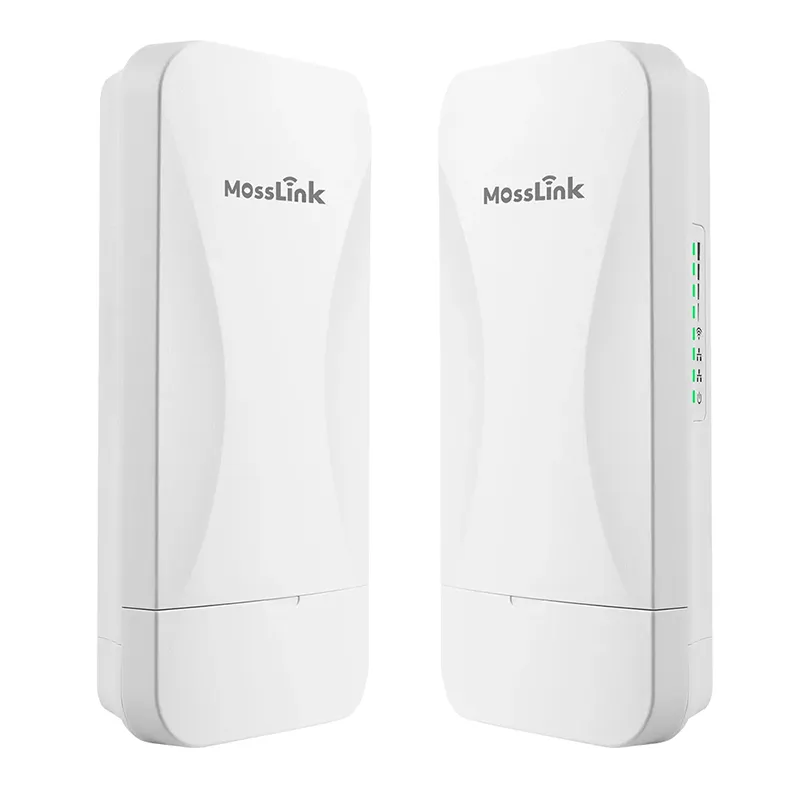
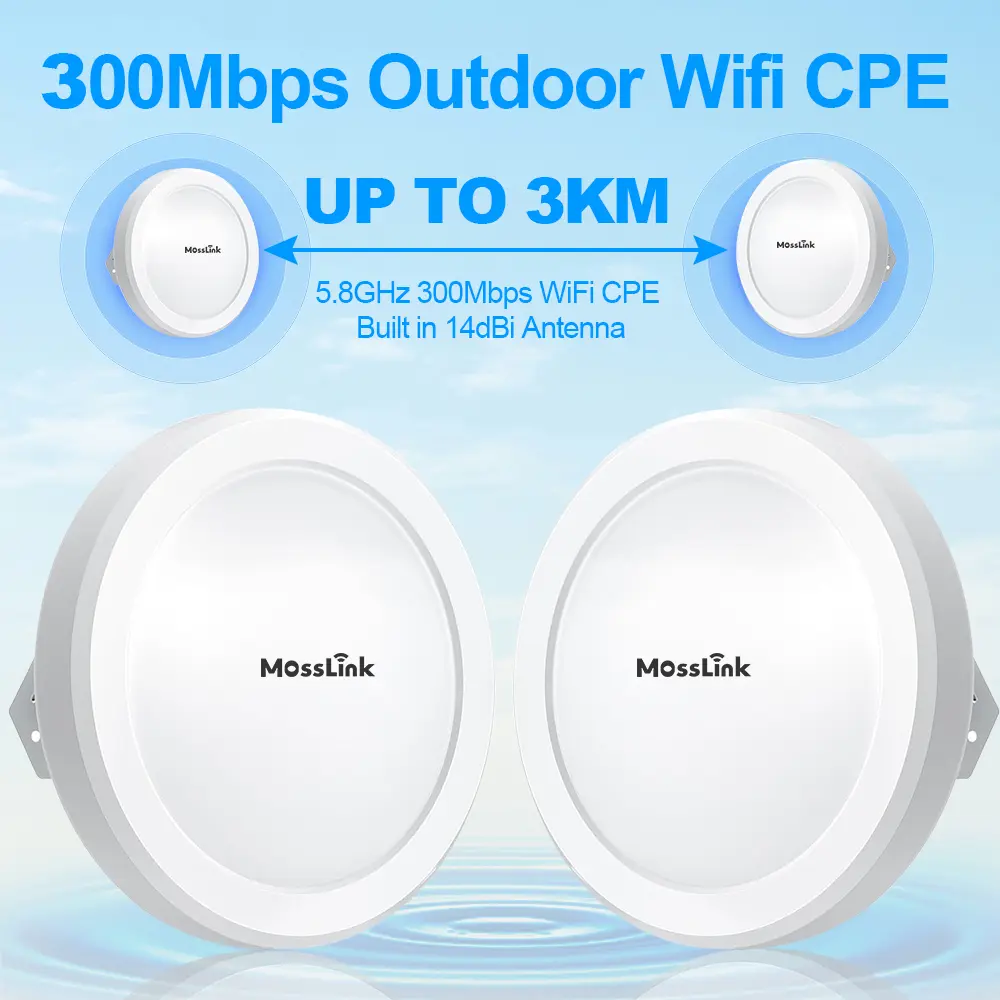
The listing said plug and play. Now there are two white units, two power bricks, and a bag of clamps on your table — and no internet in the garage.
You’re not the problem. Every week we get emails and WhatsApp messages from people who bought a wireless bridge kit — often not even ours — that promised plug and play, and are stuck. The promise is real: a properly preconfigured bridge pair genuinely needs zero configuration for a single link. But the quick-start leaflet in the box usually shows one diagram and skips the five things that actually trip people up.
So this is the walkthrough we wish every kit shipped with: what the pieces are, the exact setup order, what the lights should do, and the five mistakes behind almost every “it doesn’t work” message we receive.
What’s in the box, and what does each piece do?
A point-to-point bridge kit is simpler than it looks — there are only three kinds of parts:
| Part | What it is | What it does |
|---|---|---|
| 2 × bridge units | The white panels/dishes | Form an invisible cable through the air between two buildings |
| 2 × PoE injectors | Small bricks with two ports: POE and LAN | Send power and data up one cable to each unit |
| Mounts / straps | Pole or wall hardware | Hold the units pointing at each other |
The single most useful mental model: a wireless bridge pair is one long Ethernet cable that happens to be invisible. One end plugs into your router at the house; the other end “comes out of the wall” at the garage, gate, or barn. Whatever you’d plug into a wall jack — a camera, a PC, a switch, a WiFi access point — plugs into the far unit.
That model also clears up the number-one misconception: a bridge does not broadcast WiFi by default. It’s not a repeater or extender — and if WiFi coverage is what you actually wanted, read bridge vs repeater vs ethernet bridge before going further. To get WiFi at the far end of a bridge, you add an outdoor access point there, plugged into the far unit.
How do you set up a wireless bridge step by step?
Do the whole setup indoors, on a table, with the two units a metre apart — before anything is mounted. A link that works on the table and fails on the wall is an aiming problem; a link that never worked on the table is a wiring problem. Testing indoors first is the difference between “it doesn’t work” and knowing exactly what to fix.
- Set one unit as master, one as slave. On our bridges this is a physical switch or dial — flick the WB2F01’s slide switch, or turn the WB610H’s A/B dial. Many kits ship already paired; then you skip this step. Put a piece of tape on the master unit and write “HOUSE” on it — you’ll thank yourself on the ladder.
- Wire the first injector: one cable from a LAN port on your router to the injector’s LAN port. Then a second cable from the injector’s POE port to the master bridge unit. (POE port → bridge, always. This is the most-swapped pair of ports in the whole kit.)
- Wire the second injector the same way, but leave its LAN port for your test laptop; the slave unit plugs into the POE port.
- Power both injectors. Both units must be powered — the wireless link carries data, never power.
- Watch the lights. Within a couple of minutes both units should show a solid link/signal indication — at one metre apart, that means full signal (on the WB610H the LED display shows it directly on the housing). No link at arm’s length means re-check steps 1–4; nothing about mounting will fix it.
- Test the internet. Open a browser on the laptop plugged into the slave-side injector. If pages load, you are done configuring — that’s the whole setup. Unplug, carry the slave to the far building, and mount both units facing each other with clear line of sight (the 12-step installation checklist covers mounting, cabling, and aiming properly).
Notice what’s not in the list: no app, no login page, no IP addresses. For one preconfigured pair, that’s the point of plug and play — the settings page exists, but you shouldn’t need it.
Which end is the master?
Master goes on the side that has the internet — the router side. Slave goes at the far end with the cameras, computers, or access point. House-to-garage: master at the house. Camera backhaul: master at the office/NVR side.
Get this backwards and you’ll see the most confusing symptom in bridge setup: the link LEDs are green, a camera at the far end may even stream — but no internet. It’s so common in elevator and CCTV installs that we wrote it up separately: why a bridge link is up but there’s no internet. If you’re stuck, swapping the master/slave switch positions takes ten seconds and fixes more “dead” bridges than any other action.
Why isn’t it working? The five mistakes behind almost every support message
When a plug-and-play kit doesn’t play, it’s nearly always one of these — check them in order:
| # | Mistake | Symptom | Fix |
|---|---|---|---|
| 1 | Router cable in the POE port (or bridge in LAN) | Unit dead or no data | Router/device → LAN port; bridge → POE port, on both ends |
| 2 | Master and slave swapped | Link up, no internet at far end | Flip the switch/dial so master is on the router side |
| 3 | Expecting the bridge to broadcast WiFi | ”Setup done but no WiFi in the barn” | Add an access point at the far end — a bridge is a cable, not a hotspot |
| 4 | Only one unit powered | LEDs dark on one end, no link | Every unit needs its own injector; the air link carries no power |
| 5 | Bridge powered from an incompatible PoE switch port | Unit won’t boot or resets randomly | Passive-PoE bridges and 802.3af/at switch ports don’t always mix — see the bridge PoE compatibility guide |
If all five check out and the mounted link is just slow, that’s distance and line-of-sight physics rather than setup — see how far a wireless bridge can really reach.
Do you ever need the settings page?
For a single pair: no — and be suspicious of any single-link problem that seems to demand it. In our support experience, opening the web UI to fix a wiring-level problem usually creates a second problem.
The settings page earns its keep in exactly three situations:
- Two or more bridge pairs at one site — each pair needs its own channel so they don’t interfere (on dial-pairing models like the WB610H, the dial itself handles this without any UI).
- You want WiFi from the bridge unit itself — models with hotspot mode (like the WB610H) can broadcast a local SSID while bridging; set the name and password once, at the table.
- Your network uses the same IP range as the bridge’s management address — rare in home setups, worth knowing about in offices.
Everything else — pairing, roles, transparent bridging — is already done in hardware or at the factory. That’s what plug and play is supposed to mean.
Why “plug and play” fails buyers — and how we build against it
Here’s the honest version of the story: plug and play fails not because the radios are bad, but because the state of the kit is invisible. You can’t see which unit is master, whether the pair is bonded, or whether a port is wrong — so when it doesn’t work, there’s nothing to look at, and the leaflet has no page for that.
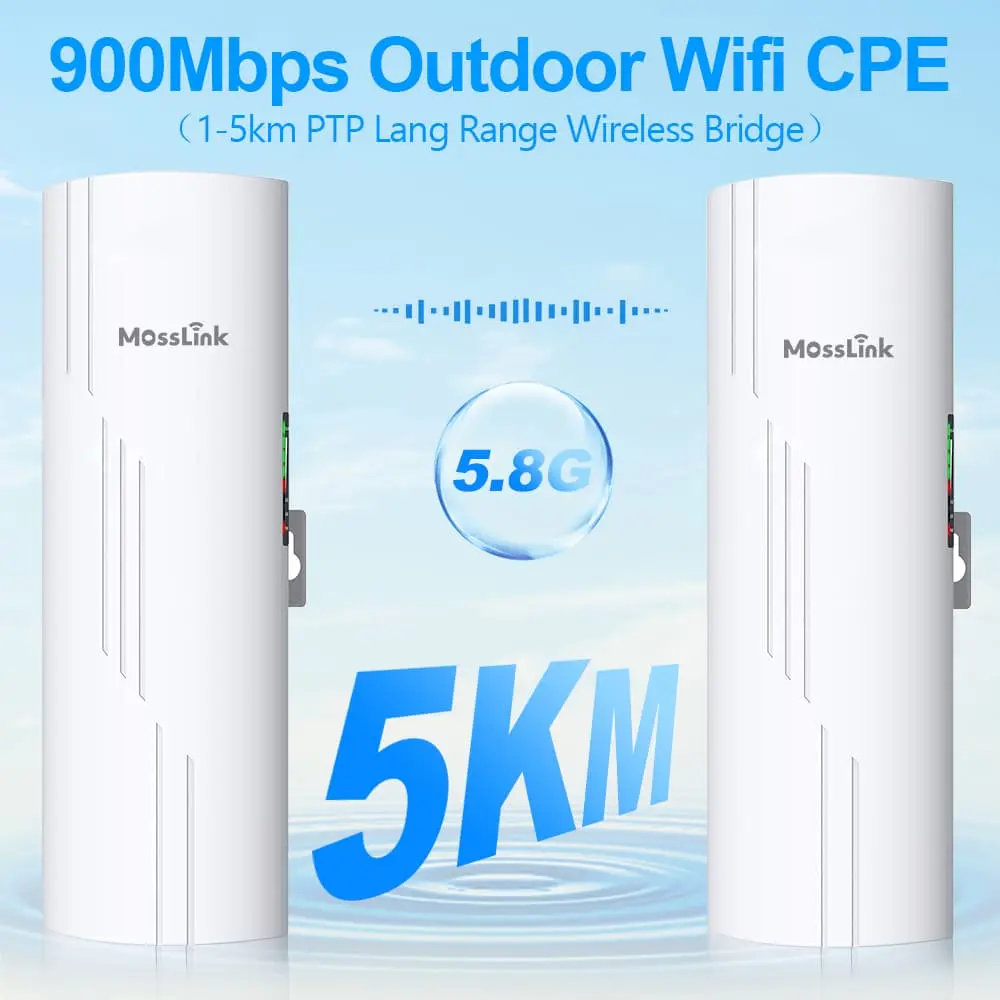
That’s why our bridges put the state on the outside: a physical master/slave switch you can see and photograph (WB2F01), an A/B dial with an LED display that shows pairing and signal on the housing itself (WB610H) — readable from the ground, with gloves on, no app. And for resellers and volume buyers, we go one step further: kits leave our bench paired, channel-planned, and labelled per site, the same way we preconfigure whole networks for overseas deployment — so your customers get the plug-and-play experience the box promised.
Stuck right now with a kit — ours or anyone’s? Send us a photo of your setup and we’ll point at the problem. Planning a purchase instead? Get a bridge kit recommendation matched to your distance, preconfigured before it ships.
Featured in this guide
Frequently Asked Questions
Practical answers for planning a similar network.
Do wireless bridges really work out of the box?
Why is my wireless bridge connected but there's no internet?
Does a wireless bridge give out WiFi?
Do both wireless bridge units need power?
Can I use a wireless bridge without a router?
Plan the complete link
Get a point-to-point wireless bridge kit recommendation
Tell us the distance, throughput, power source, and deployment environment. We will match the bridge pair, PoE, outdoor cable, and mounting accessories.
Continue Planning Your Wireless Link
Deploy with confidence
See how MossLink builds Outdoor CCTV Wireless Backhaul Solution end-to-end
Network architecture, products used, and real-world results in one place.
Tags
Share