You are linking two buildings: office to warehouse, gatehouse to camera poles, house to a rental unit. The bridge pair is chosen. Then comes the quiet decision that decides whether the whole system boots on day one — the PoE switch that has to power the bridge, the cameras, and the access point at the same time, from one box.
Get it right and the entire site runs on Ethernet cables alone: no outlets on poles, no power bricks in junction boxes. Get it wrong and you are staring at a bridge that will not power on, or cameras that reboot every night when infrared LEDs kick in and the power budget runs dry.
Why does the PoE switch make or break a bridge deployment?
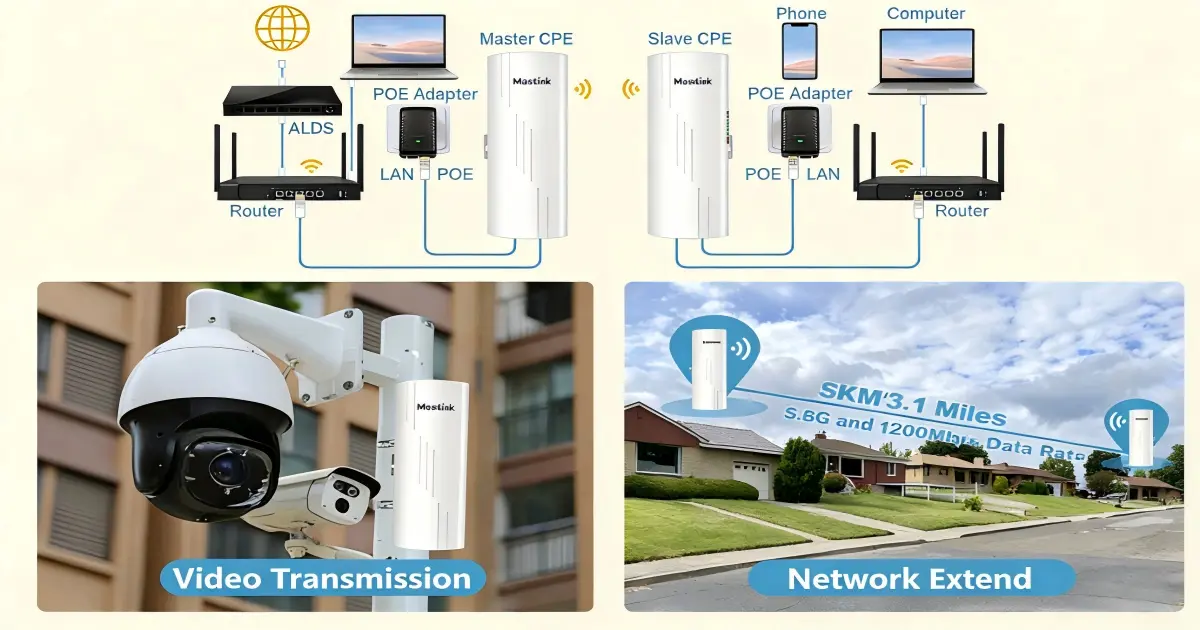
Because in a typical two-building network, one switch at the head end feeds everything. A representative small deployment looks like this:
- 1× wireless bridge unit (the local end of the link)
- 4× IP cameras around the building
- 1× ceiling or outdoor access point
- 1× uplink to the router
That is six powered or connected devices hanging off one PoE switch. The switch must speak the right PoE standard for each device, have enough total wattage for all of them at peak draw, and pass the bridge’s full throughput without becoming the bottleneck. Three requirements, three distinct ways to get it wrong — and the failure usually shows up after the ladder is packed away.
Passive 24V or 802.3af/at — which does your bridge actually need?
This is the single most common mismatch in the field, and it comes down to how power is delivered:
Standards-based PoE (IEEE 802.3af/at) performs a low-voltage handshake first. The switch probes the port, looks for a valid signature from the device, and only then releases 48–55V. No valid signature, no power — the port stays dark.
Passive PoE skips the handshake entirely and pushes a fixed voltage (usually 24V) down the cable the moment you plug in. It is cheap and simple, which is why most entry-level outdoor bridges use it.
The consequences of mixing them:
| You plug… | Into… | Result |
|---|---|---|
| Passive 24V-only bridge | 802.3af/at switch | No handshake signature → port stays unpowered. Bridge appears dead |
| 802.3af/at bridge | Passive 24V injector | Voltage too low → will not boot |
| 24V-only bridge | Passive 48V injector | Overvoltage → risk of hardware damage |
| Wide-voltage bridge (12–55V) | Any of the above | Boots normally |
So before buying the switch, check the power line in your bridge’s spec sheet. Across the MossLink lineup it splits cleanly:
| Bridge class | PoE input | Works directly from an af/at PoE switch? |
|---|---|---|
| Entry 5.8 GHz bridges (WB620H, WB630, WB501C, WB1500) | Passive 24V | No — use the included 24V injector |
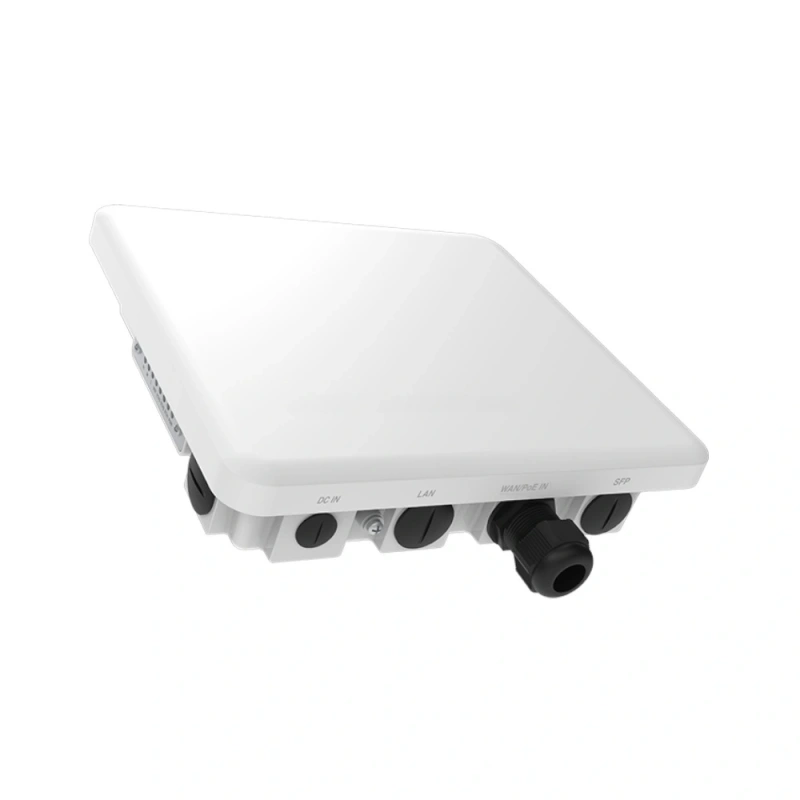
| Wi-Fi 6 bridges (WB5AXH6-20, WB5AXH6-35, WB6AXH6-20) | 802.3at | Yes |
| Long-range dish (WB5ACDish-Pro) | 802.3af 48V | Yes |
| WB610H hotspot bridge | 12–55V wide-voltage | Yes — accepts passive 24V and 802.3at alike |
The wide-voltage input on the WB610H exists precisely because installers kept inheriting whatever switch was already in the cabinet. If you cannot control what PoE source will be on site, a 12–55V bridge removes the variable.
If your bridge already refuses to power on and you suspect a pinout or voltage issue, that is a different article — our teardown of why wide-voltage bridges fail on some standard PoE switches covers Mode A vs Mode B pinouts and the diagnostic steps in detail.
How many ports and how much PoE budget do you need?
Two numbers decide the switch size: port count and total PoE wattage. Count devices first, then add power with headroom.
Representative device draws (confirm against your specific models):
| Device | Typical draw |
|---|---|
| Fixed IP camera | 5–8 W (10–12 W with IR on) |
| PTZ camera | 15–30 W |
| Wireless bridge unit | 8–15 W |
| Indoor/outdoor access point | 10–20 W |
The sizing rule: add up worst-case draw for every powered device, multiply by 1.3 for headroom (IR night mode, cold-start surge, cable losses on long runs), and pick the next budget tier up. For ports: powered devices + uplink + at least one spare.
Mapped to real switch tiers:
| Scenario | Devices on the switch | Budget math | Switch class |
|---|---|---|---|
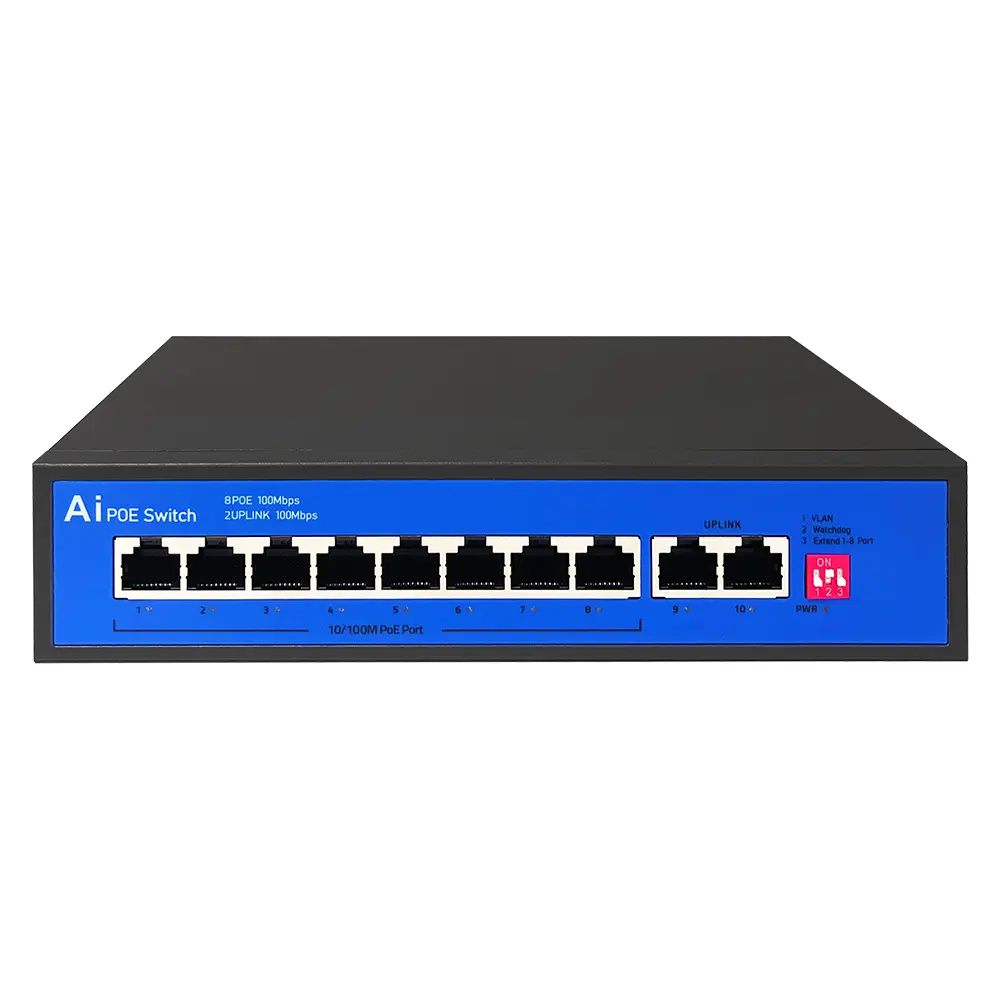
| Single link + a few 100M cameras | 1 bridge + 4 cameras | ~50 W × 1.3 ≈ 65 W | 8-port Fast Ethernet, 96 W (S802E) |
| Gigabit link + cameras + AP | 1 bridge + 4–6 cameras + 1 AP | ~90 W × 1.3 ≈ 117 W | 8-port Gigabit, 120 W (S821G) |
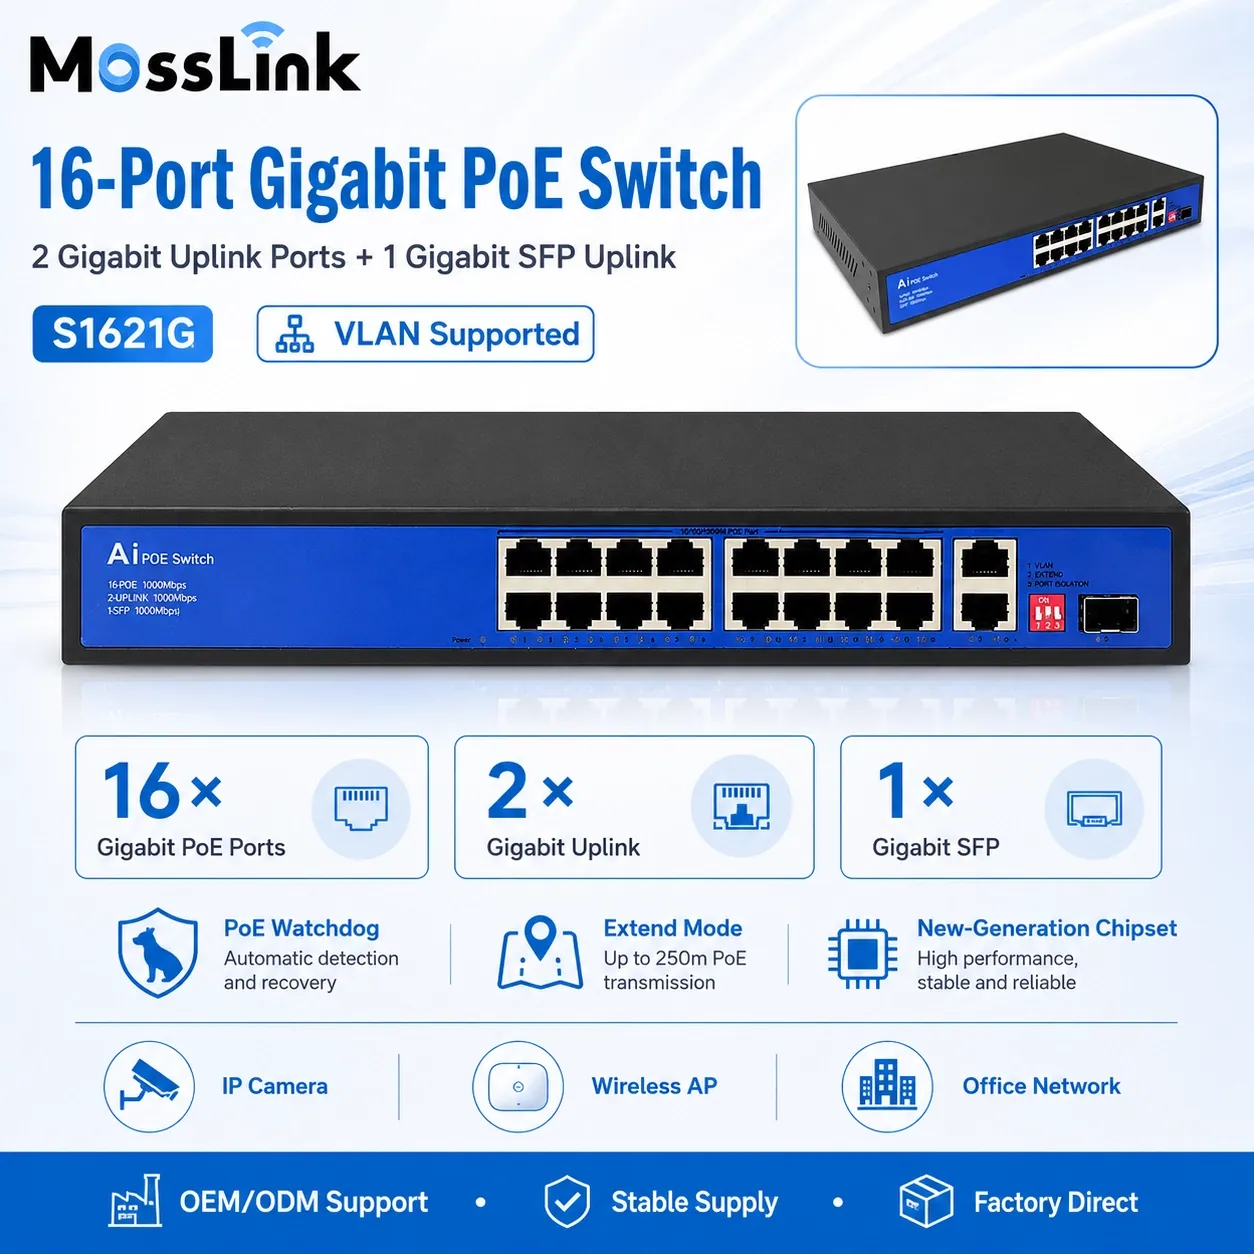
| CCTV backhaul hub | 1–2 bridges + 8–12 cameras + APs | ~170 W × 1.3 ≈ 220 W | 16-port Gigabit, 300 W (S1621G) |
| Multi-building PtMP head end | Several bridges + full camera field | 300 W+ | 24-port Gigabit, 400 W (S2421G) |
One trap worth flagging separately: port speed. A 900 Mbps bridge plugged into a 10/100M switch port runs at ~95 Mbps — the switch silently eats 90% of the link you paid for. Fast Ethernet PoE switches like the S802E are the right price for entry bridges and fixed cameras, but a Gigabit bridge needs Gigabit ports on the head-end switch. If in doubt, browse the PoE switch lineup by port speed first, wattage second.
What does a complete two-building kit look like?
A representative office-to-warehouse build, 300 m apart (numbers are illustrative — confirm counts and draws for your site):
Head end (office):
- Router → 8-port Gigabit PoE switch (120 W class)
- Switch → WB610H bridge unit A (wide-voltage, powered straight from the switch)
- Switch → 2× IP cameras + 1× access point
- Spare ports for growth
Remote end (warehouse):
- WB610H bridge unit B → its Gigabit PoE OUT port powers one IP camera directly — no switch, no outlet needed at the pole
- For more devices: a compact PoE switch fed from the bridge’s LAN port
Two switch features earn their keep specifically in bridge networks:
Extend mode. Cameras at a fence line 200 m from the cabinet exceed Ethernet’s standard 100 m limit. The extend mode on MossLink switches pushes PoE and data to 250–300 m depending on the model (at 10 Mbps — fine for a fixed camera stream), saving a mid-span repeater.
PoE watchdog. When a camera or bridge at the far end of the site hangs, the watchdog detects the dead stream and power-cycles the port automatically. On a two-building link, that is the difference between a truck roll and not even noticing.
For camera-count planning on the wireless side — how many streams a single bridge link can carry — see our guide to choosing a wireless bridge for CCTV backhaul.
Should you buy a kit or piece it together?
You can absolutely mix vendors — the tables above tell you how. But the mismatches described in this article (passive vs standards-based power, budget shortfalls, 100M bottlenecks) almost always come from buying the bridge, switch, and cameras from three different sellers who never see the whole design.
A matched kit removes that class of failure: the bridge’s PoE requirement is paired to the switch, the budget is sized for the device list, and everything can ship pre-configured so the site powers up paired and working. If you are speccing a two-building link right now, build a wireless bridge kit with us — tell us the distance and device count, and we will spec the switch tier for you.
Get a bridge kit quote → wireless bridge kit builder or browse the full wireless bridge lineup. For volume pricing or OEM/ODM projects, contact our team or talk to an engineer on WhatsApp.
Featured in this guide
Frequently Asked Questions
Practical answers for planning a similar network.
Can any PoE switch power a wireless bridge?
Do I need a Gigabit PoE switch for a wireless bridge?
Can a wireless bridge power an IP camera directly?
How much PoE budget do I need for 8 cameras and a bridge?
Why won't my wireless bridge power on from my PoE switch?
Plan the complete link
Get a point-to-point wireless bridge kit recommendation
Tell us the distance, throughput, power source, and deployment environment. We will match the bridge pair, PoE, outdoor cable, and mounting accessories.
Continue Planning Your Wireless Link
Deploy with confidence
See how MossLink builds Campus Wi-Fi Network Solution & Access Points end-to-end
Network architecture, products used, and real-world results in one place.
Tags
Share