Your garage is 80 meters from the house. The WiFi signal dies halfway across the yard. You tried a range extender — it sort of works near the back door but drops completely inside the metal garage. You called a contractor about running Ethernet underground: $3,200 for 80 meters of trenching, plus permit fees, plus “we might hit your sprinkler line.”
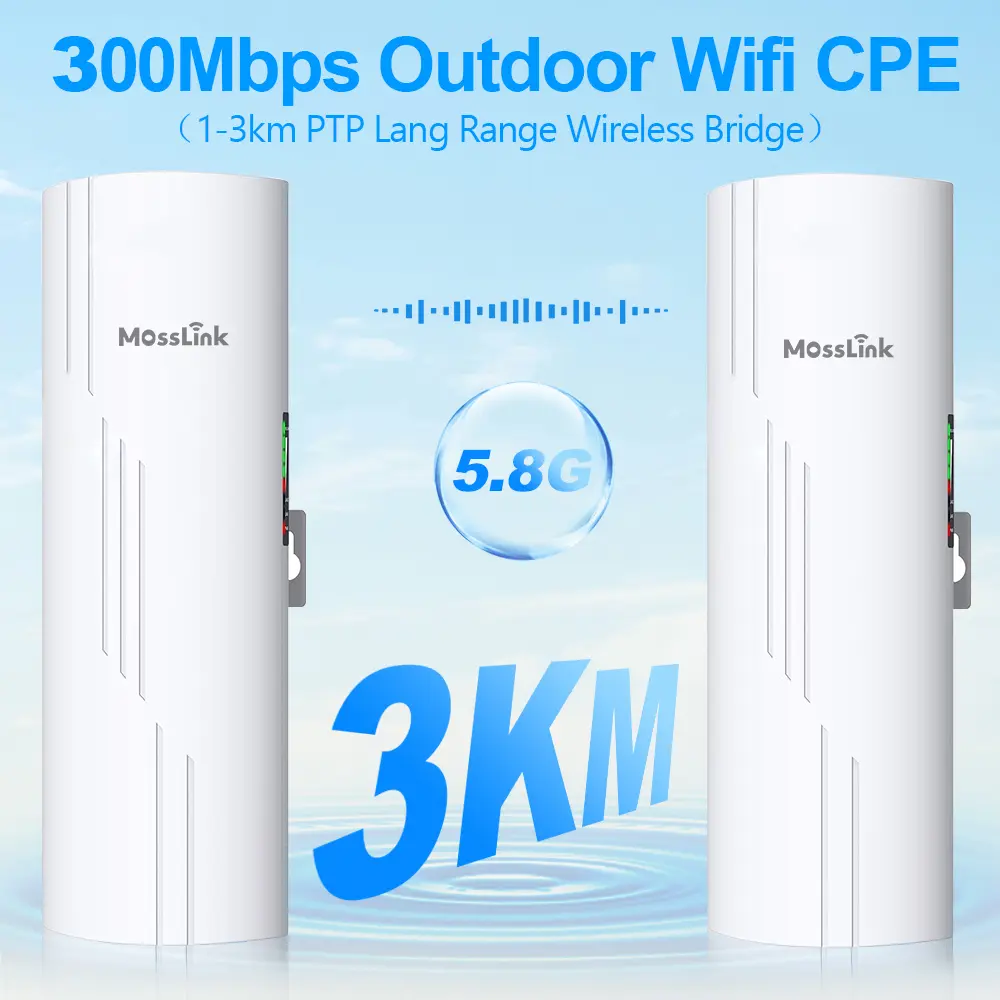
There is a faster, cheaper way. A pair of point-to-point wireless bridges creates a dedicated link between your house and any outbuilding — garage, barn, shed, workshop — for about $120 and 30 minutes of your time.

Why Can’t Your WiFi Router Reach the Outbuilding?
Three things are working against you:
Distance. A typical home router transmits at 100 mW. At 30 meters through open air, the signal is already marginal for streaming. At 80 meters, most devices cannot maintain a stable connection — and your phone’s transmit power is even weaker on the return path.
Obstacles. Metal garage doors, concrete block walls, and brick sidings absorb 5 GHz signals almost completely. Even a row of dense trees between your house and barn can cut signal strength by 60–80%.
Half-duplex repeaters. WiFi extenders rebroadcast the signal on the same channel, cutting usable bandwidth in half. At 80 meters, you are stacking distance loss on top of halved throughput — the result is a connection that buffers constantly and drops during video calls.
The problem is not your router. It is the wrong tool for a building-to-building link.
How Does a Point-to-Point Wireless Bridge Solve This?
A wireless bridge is a dedicated, directional link between two points — think of it as an invisible Ethernet cable through the air.
How it works:
- Unit A mounts on your house (eave, wall, or pole), connected to your router via Ethernet
- Unit B mounts on your garage or barn, pointed back at Unit A
- The two units lock onto each other with focused, directional antennas — the same principle used in commercial tower links, scaled down for shorter distances
- Unit B outputs a standard Ethernet port — plug in an access point, a switch, or directly into your device
The key difference from WiFi: your router broadcasts in all directions, wasting most of its power on your neighbor’s yard and the sky. A bridge concentrates its signal into a narrow beam aimed at exactly one target. That is why a 100-meter bridge link delivers 300 Mbps while your router struggles to push 5 Mbps to the same spot.
Typical cost: $120–200 for a bridge pair. Install time: 30 minutes with basic tools. No permits, no digging, no contractor.
What Should You Look for When Choosing a Wireless Bridge?
Not all bridges are created equal. Here is what actually matters for a residential setup:
| Feature | Why It Matters | What to Look For |
|---|---|---|
| Frequency | 5.8 GHz avoids the crowded 2.4 GHz band where your neighbors’ routers, microwaves, and baby monitors all compete | 5.8 GHz (802.11ac or 802.11ax) |
| Real throughput | Box specs show PHY rate; real throughput is 40–60% of that | 300+ Mbps real at your distance |
| Antenna gain | Higher gain = longer range and more stability | 14–16 dBi for 100–500 m residential |
| PoE power | Single cable for both data and power — no outlet needed at the mount point | Passive 24V or 802.3af/at |
| Weatherproofing | It lives outside, year-round | IP65 minimum |
| Setup complexity | You should not need a networking degree | Plug-and-play pairing preferred |
Residential picks at a glance:
| Model | Frequency | Throughput | Range | PoE | Weatherproof | Price Range |
|---|---|---|---|---|---|---|
| MossLink WB610H | 5.8 GHz | 900 Mbps | 5 km | 12–55V wide-voltage | IP65, -30 to 65°C | $$ |
| Ubiquiti NanoStation 5AC | 5 GHz | 450 Mbps | 5 km | 24V passive | IP65 | $$$ |
| TP-Link CPE510 | 5 GHz | 300 Mbps | 5 km | 24V passive | IP65 | $ |
The WB610H includes hotspot mode on both ends — meaning Unit B can also broadcast a local WiFi network at the garage, eliminating the need for a separate access point. It also has PoE output, so you can power a camera or AP directly from the bridge unit without an extra power adapter.
Real Installation: Garage 80 m From the House
Here is a walkthrough based on a common residential deployment. Distances and speeds below are representative — your results depend on line of sight and local RF conditions. Confirm specific numbers against your own site survey.
Step 1: Check Line of Sight
Stand at your planned mount point on the house and look toward the garage. You need a clear visual path — no walls, no rooflines, no dense tree canopy directly between the two points.
The Fresnel zone rule: at 80 meters on 5.8 GHz, the Fresnel zone (the invisible “football” shape around the signal path) is about 1.2 meters wide at the midpoint. If a tree branch, fence, or roofline intrudes into that zone, your signal degrades even if you can technically “see” the other building. Mount both units at least 3 meters high to clear most ground-level obstacles.
Step 2: Mount the Units
House side (Unit A):
- Eave mount or wall bracket, aimed toward the garage
- Run an Ethernet cable from your router to the PoE injector, then a single cable up to the bridge unit
- The PoE injector stays indoors; only the bridge and one cable go outside
Garage side (Unit B):
- Wall mount or pole mount on the garage, aimed back at the house
- Ethernet from Unit B goes to whatever you need inside: a switch, an access point, or directly to your workbench PC
Step 3: Pair and Align
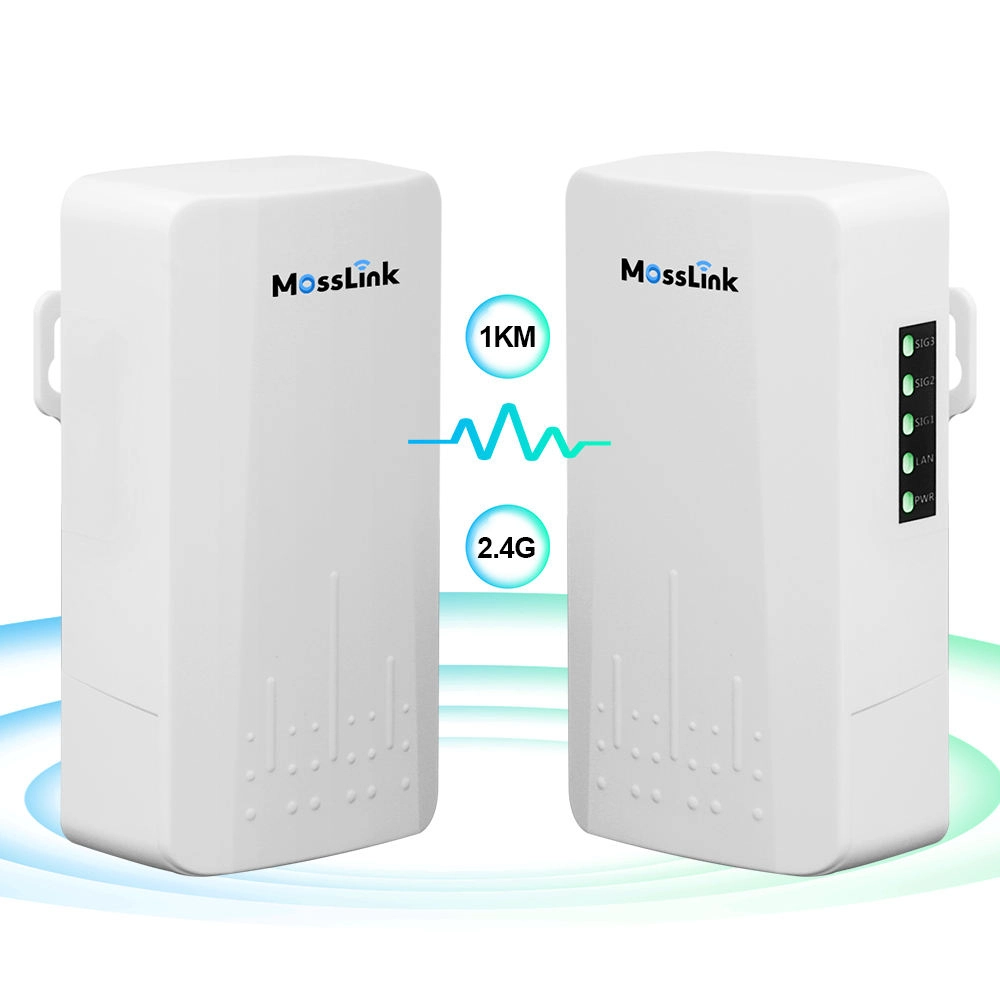
Most modern bridges (including the WB610H) use dial-switch or auto-pairing — power on both units, set one to A and the other to B, and they find each other. LED signal indicators on the unit show alignment quality. Adjust the angle until you get the strongest reading.
Tip: do the rough alignment during the day when you can see both mounting points. Fine-tune using the signal LEDs or the bridge’s web interface signal meter.
Step 4: Test
Run a speed test from a device connected to Unit B. At 80 meters with clear line of sight, expect 200–400 Mbps real throughput — more than enough for streaming 4K video, running security cameras, and video conferencing simultaneously.
Common Pitfalls
Metal garage door: if Unit B is mounted inside a metal building, the signal will not penetrate. Mount it outside, on the wall or eave, with the antenna facing the house.
Seasonal tree canopy: a path that is clear in winter may be blocked by leaves in summer. If trees are in the path, mount higher or trim the sightline. Dense wet foliage at the Fresnel zone midpoint can drop throughput by 50% or more.
Shared PoE injector confusion: the included PoE injector has a LAN port and a PoE port. The PoE port goes to the bridge; the LAN port goes to your router. Reversing them is the number-one support call.
Wireless Bridge vs Other Options: What Makes Sense for You?
| Solution | Cost | Speed | Reliability | Install Time | Best For |
|---|---|---|---|---|---|
| PTP wireless bridge | $120–200 | 300+ Mbps | High | 30 min | 50–500 m, clear line of sight |
| Underground Ethernet | $1,500–5,000 | 1 Gbps | Highest | Days (contractor) | Permanent, high-bandwidth, conduit exists |
| WiFi repeater/extender | $30–80 | Half of source | Low–Medium | 5 min | Under 15 m, same building, temporary |
| Powerline adapter | $50–100 | 50–200 Mbps | Unstable | 10 min | Same electrical circuit only |
| Mesh WiFi | $200–400 | Varies by distance | Medium | 20 min | Indoor coverage, under 30 m between nodes |
Bottom line: if your outbuilding is more than 30 meters away, a point-to-point bridge is the best balance of cost, speed, and reliability. Trenching only makes sense when you need sustained gigabit throughput and are already doing construction work. Repeaters and mesh systems are designed for indoor use — they are the wrong architecture for a building-to-building link.
What About Starlink Users?
If your internet comes from a Starlink dish on your roof, a wireless bridge is the simplest way to share that connection with an outbuilding. Plug the Starlink router’s Ethernet port into Unit A, mount Unit B on the barn, and you have full internet access at the remote end. Many rural deployments use this exact setup to extend Starlink to workshops, guest houses, and livestock monitoring cameras several hundred meters away.
The WB610H’s hotspot mode is particularly useful here: Unit B broadcasts its own WiFi network at the barn, so you do not need to buy a separate access point for the remote building.
Next Steps
If your garage, barn, or shed needs internet and you are tired of dead zones and contractor quotes:
- Measure the distance between your house and the outbuilding
- Check line of sight — can you see the target building from the planned mount point?
- Pick the right bridge — for most residential setups under 500 m, a 5.8 GHz bridge with 14+ dBi antenna is the sweet spot
Need help choosing the right bridge for your property? Browse our wireless bridge lineup or talk to our engineers on WhatsApp — describe your distance and setup, and we will recommend the right model.
Ready to get a quote? Contact us for volume pricing or OEM customization.
Deploy with confidence
See how MossLink builds Outdoor CCTV Wireless Backhaul Solution end-to-end
Network architecture, products used, and real-world results in one place.
Tags
Share