How to Share Starlink Internet with Neighbors 5 km Away (No Cables Needed)
You got Starlink and the speeds are incredible — but your neighbor 5 km down the road still has unusable DSL (or nothing at all). Running fiber across fields and public roads would cost thousands of dollars and require permits you will never get. A standard Wi-Fi extender dies after 100 meters.
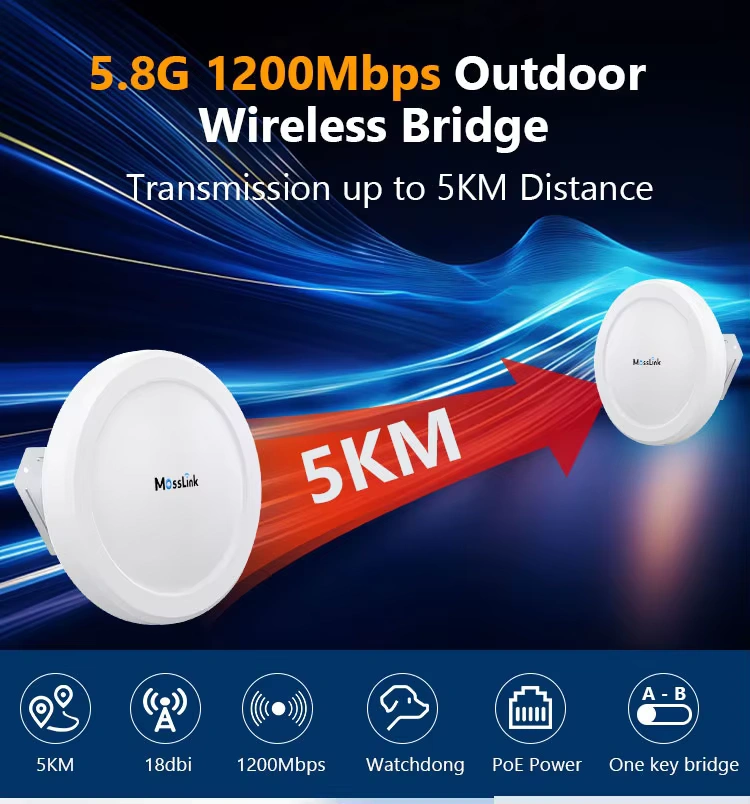
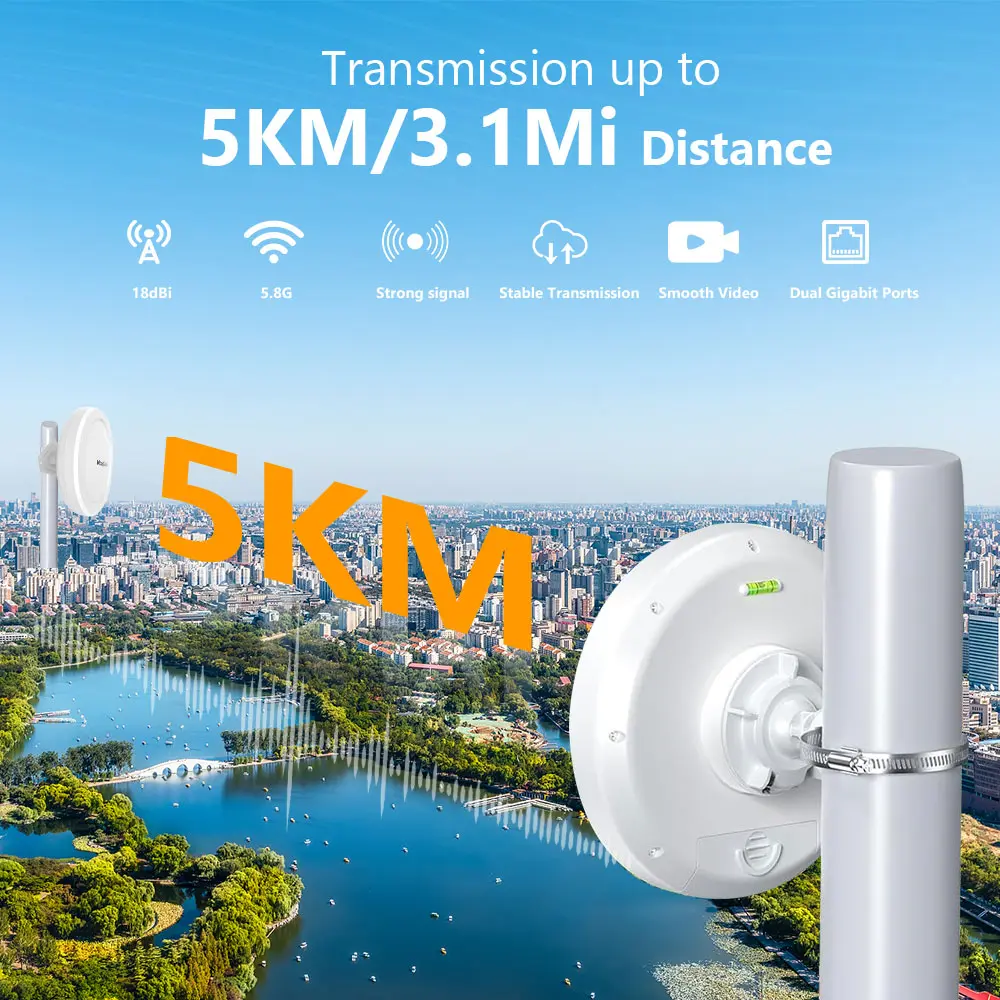
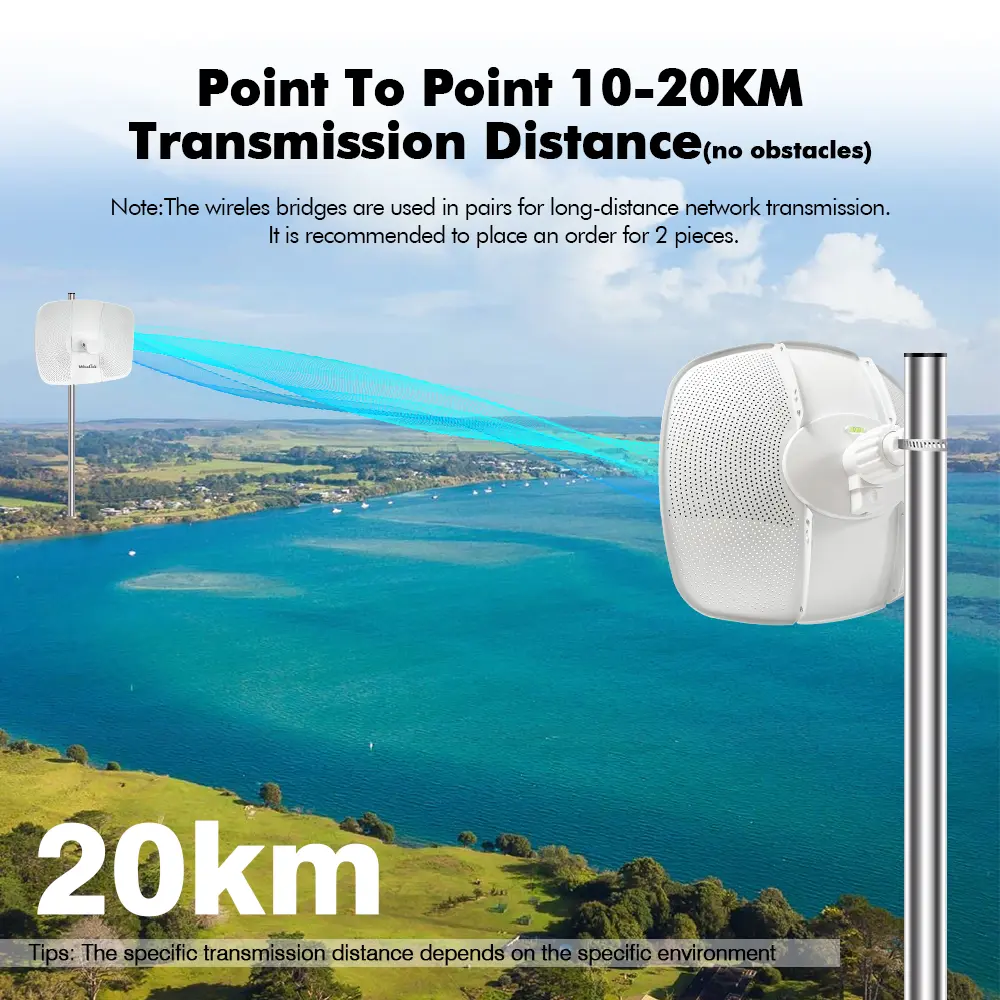
The solution: a pair of outdoor 5.8 GHz point-to-point wireless bridges. One mounts on your roof, the other on your neighbor’s. A focused radio beam creates an “invisible cable” between the two — no trenching, no monthly fees, and speeds above 100 Mbps at the receiving end. Below we cover exactly what hardware you need, how to mount and aim it, and how to manage bandwidth so everyone stays happy.
How Does Long-Range Starlink Sharing Actually Work?
Most people assume a strong Wi-Fi router can push signal a few kilometers. It cannot. Home routers spray signal in every direction, which dilutes power quickly. At 500 meters the signal is already useless.
A point-to-point (PTP) wireless bridge works differently. It focuses all energy into a narrow beam aimed directly at a matching receiver — like a laser pointer versus a light bulb. The result is a stable, high-throughput link that can span 5 km or more.
The Setup at a Glance
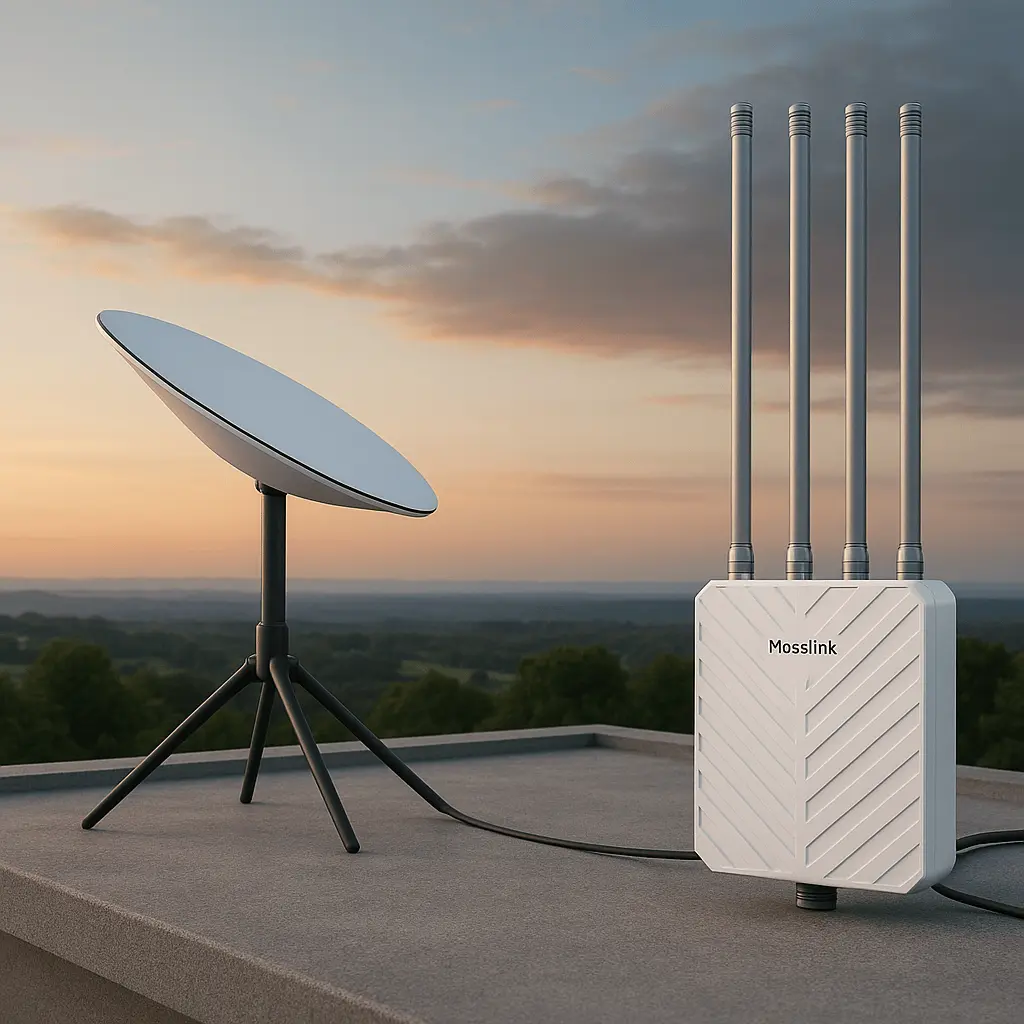
- Starlink dish connects to a core router via the Ethernet adapter
- The router sends traffic to an outdoor bridge transmitter mounted on a high pole
- A 5 km directional radio beam at 5.8 GHz carries data to the neighbor
- A receiver bridge on the neighbor’s roof feeds into their own indoor router
Your personal home network stays completely separated from the shared traffic using VLANs or a dedicated router port.
Why 5.8 GHz Is the Right Frequency for 5 km
You have three practical frequency choices for a 5 km link:
- 900 MHz — penetrates trees but tops out around 10 Mbps. Too slow for Starlink speeds.
- 2.4 GHz — crowded spectrum, wide Fresnel zone, heavy interference from every home router in range.
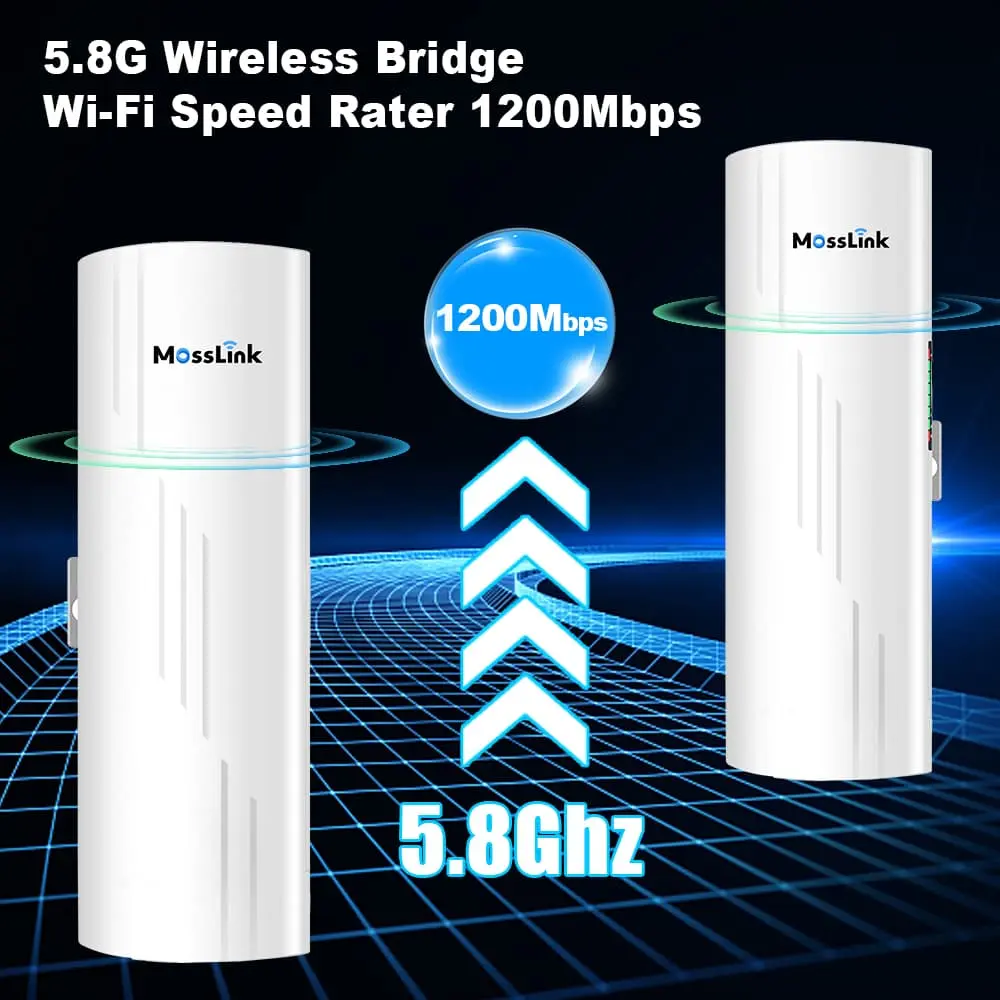
- 5.8 GHz — high bandwidth (802.11ac/ax speeds), tight beam, minimal neighborhood interference. This is the frequency used by virtually every professional WISP and rural network builder.
Why Wi-Fi Extenders and Mesh Systems Will Not Work
We regularly see people try to daisy-chain mesh nodes or buy “long-range” consumer repeaters. These fail at 5 km because:
- They lack the antenna gain to push usable signal past ~300 meters
- Omnidirectional transmission wastes power in every direction
- The “Hidden Node Problem” causes packet collisions that destroy throughput
- Most have 100 Mbps Ethernet ports that bottleneck Starlink speeds before data even leaves the house
Is It Legal to Share Starlink with Neighbors?
Check Starlink’s Terms of Service before buying hardware. Key points:
- Residential plans prohibit reselling for profit (operating as an ISP)
- Cost-sharing among a few neighbors is generally fine
- Starlink Business and Community Gateway plans are explicitly designed for multi-user setups
- Also verify your country’s regulations on 5.8 GHz outdoor radio use — it is license-free in most regions but power limits vary
| Requirement | Standard Home Setup | Required for 5 km Sharing |
|---|---|---|
| Router | Consumer mesh / basic router | Managed router with VLAN and QoS |
| Transmission | Omnidirectional Wi-Fi | Directional PTP bridge (5.8 GHz) |
| Management | Single Wi-Fi password | Per-household bandwidth limits |
| Mounting | Tabletop or wall | Rooftop mast or tower |
What Equipment Do You Need for a 5 km Starlink Link?
Buying the wrong hardware is the most common (and most expensive) mistake. Here is the exact bill of materials for a reliable 5 km link.
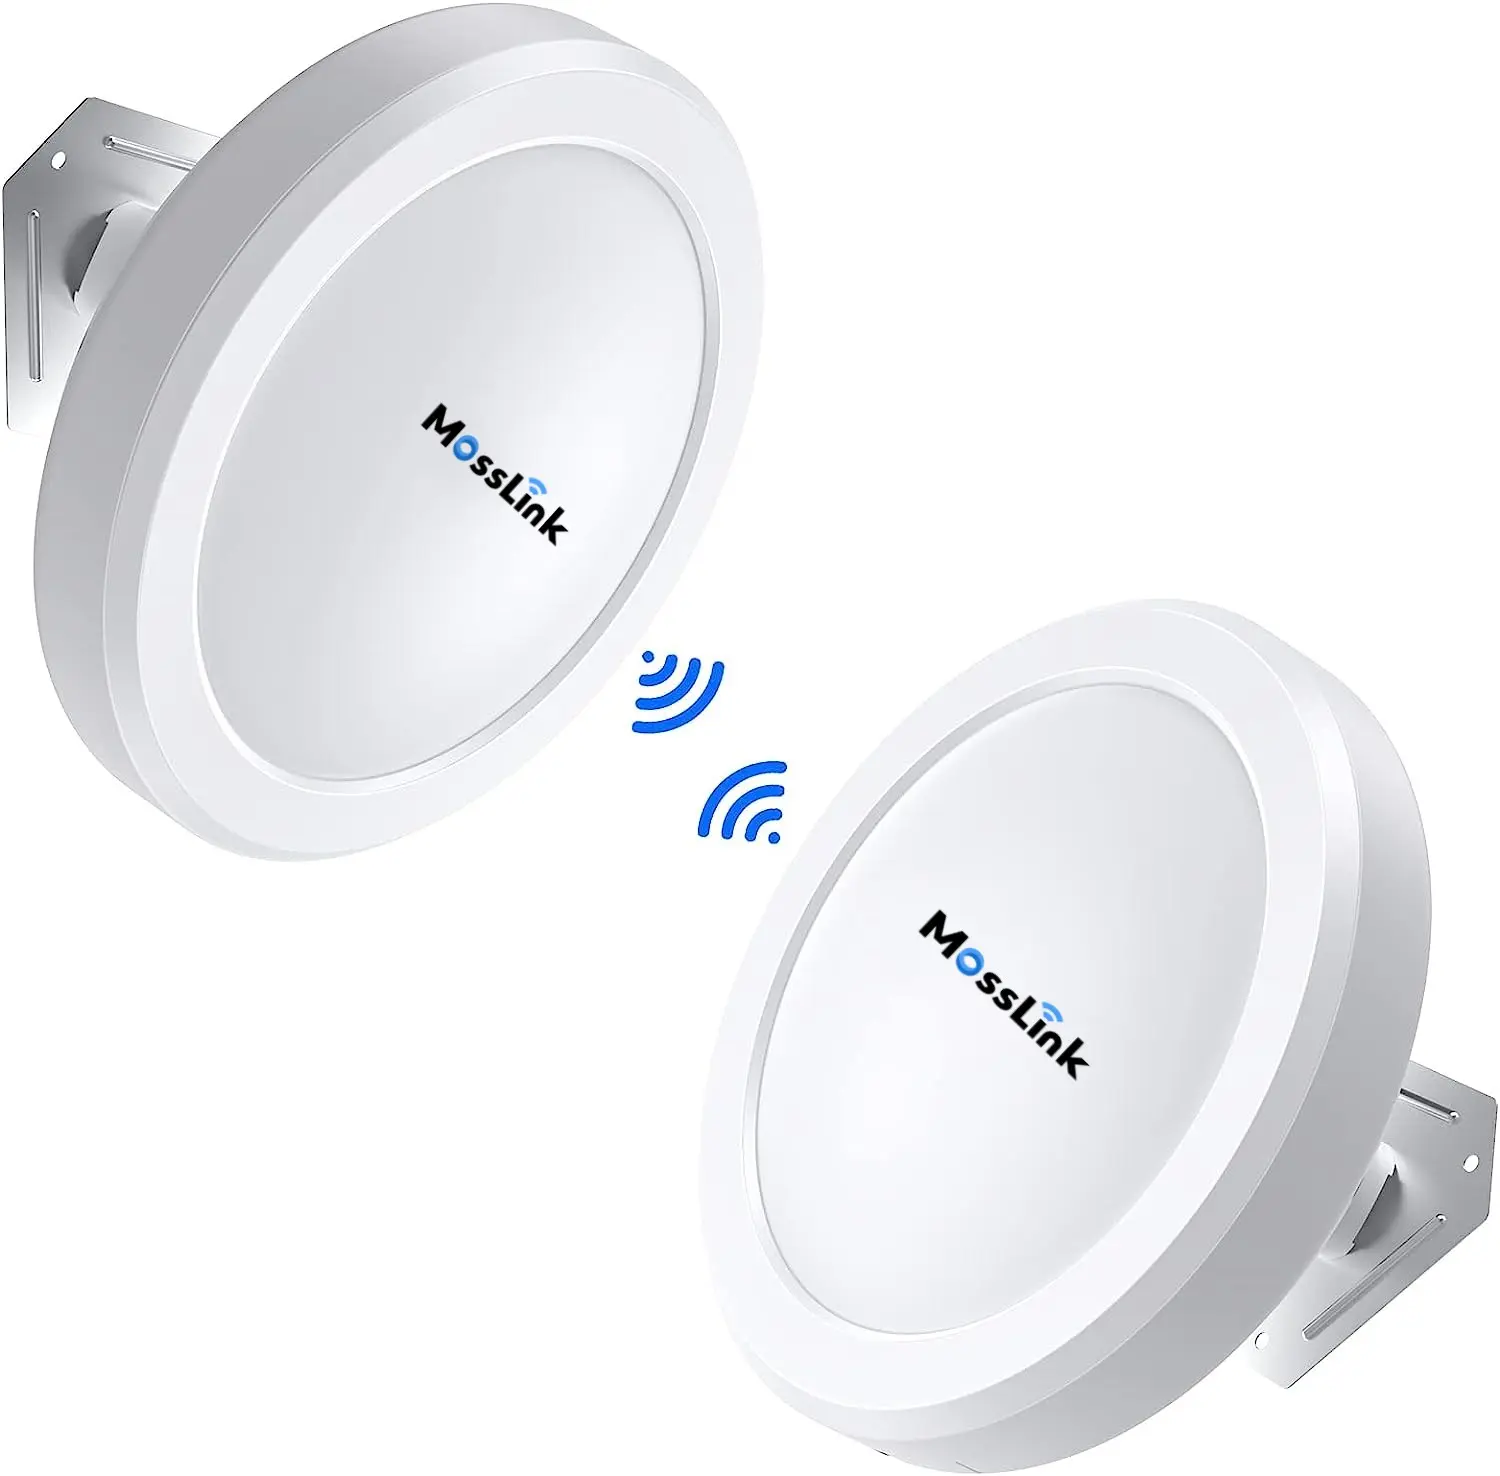
The Core: A Pair of 5.8 GHz Wireless Bridges
You need two matching outdoor bridges with:
- 23 dBi or higher integrated antenna gain
- Gigabit Ethernet ports (100 Mbps ports will bottleneck Starlink)
- 802.11ac or 802.11ax radio for high modulation rates
- IP65+ weatherproof housing
The MossLink WB630 and WB610H are purpose-built for exactly this distance range — high-gain panel antennas, Gigabit ports, and industrial-grade weatherproofing.
Avoid Cheap “Pre-Paired” Bridge Kits
Budget kits advertising “5 km range” typically use low-gain antennas (8–10 dBi) and 100 Mbps ports. They may establish a link, but packet loss will be high and real-world throughput will be a fraction of your Starlink speed. Low-gain antennas force the radio to blast at maximum power, introducing noise and heat — the opposite of a clean, focused signal.
Supporting Equipment
| Component | Purpose | Recommendation |
|---|---|---|
| Starlink Ethernet Adapter | Converts proprietary Starlink port to RJ45 | Official Starlink accessory |
| Wireless Bridge Pair | Transmits data across 5 km | MossLink WB630 or WB610H |
| Managed Router | VLAN isolation and QoS per household | MikroTik, TP-Link Omada, or Ubiquiti EdgeRouter |
| Outdoor Ethernet Cable | Connects bridge to indoor equipment | Shielded Cat6, UV-resistant jacket |
| Mounting Pole + Brackets | Elevates bridge above obstructions | Stainless steel or galvanized (rust-proof) |
| Grounding Kit | Lightning and static protection | Essential for any rooftop installation |
Power over Ethernet (PoE) Simplifies Installation
Professional bridges use PoE — a single Ethernet cable carries both data and power to the rooftop unit. No need to run AC power up a mast. Just make sure the PoE injector is properly grounded to protect your Starlink router from lightning-induced surges.
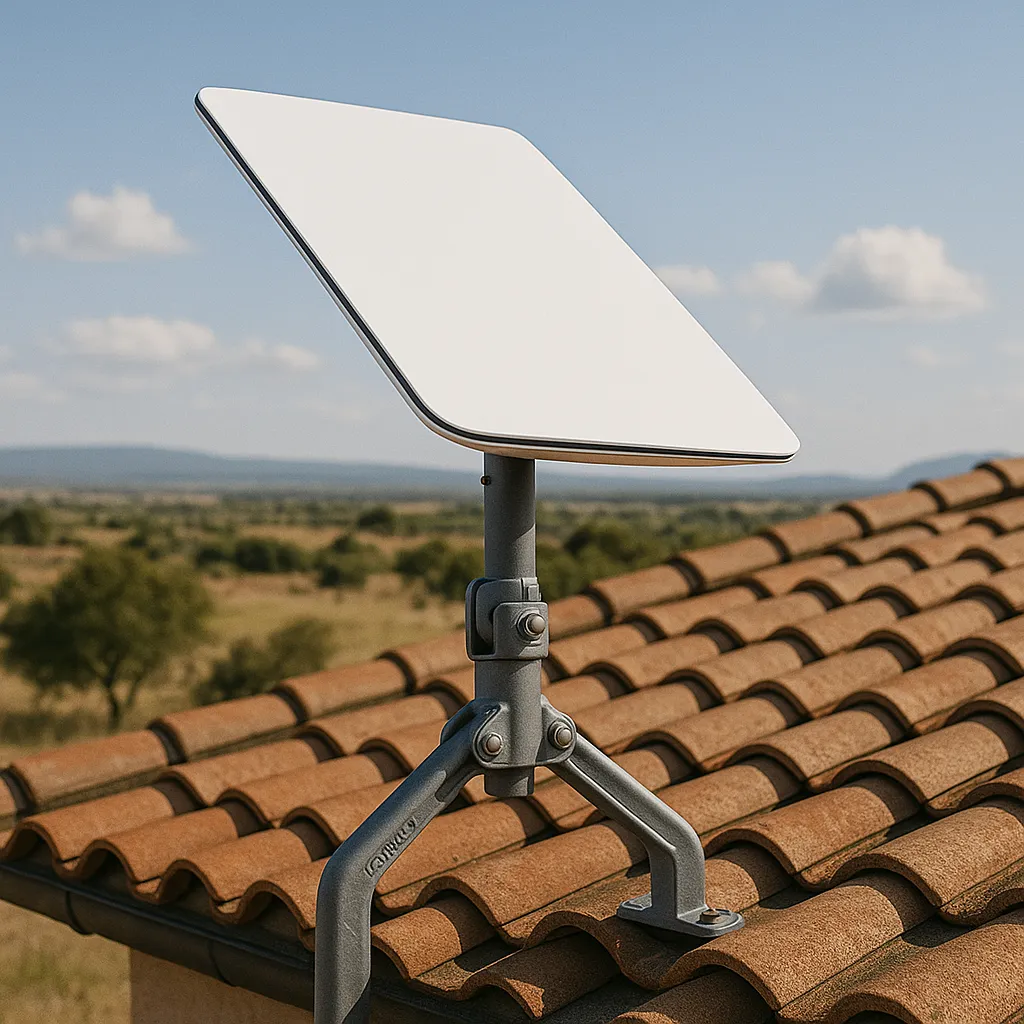
How to Mount and Align a Wireless Bridge for Maximum Stability
Hardware is only half the job. A perfectly good bridge will perform terribly if mounted too low or aimed poorly. This section prevents the most common installation failures.
Understand the Fresnel Zone
Radio waves do not travel in a razor-thin line. They expand into a football-shaped zone called the Fresnel zone. At 5 km on 5.8 GHz, this zone is roughly 7 meters in radius at the midpoint.
If anything — trees, a rooftop, a hill, even tall grass on a rise — intrudes into the lower 60% of this zone, it reflects and cancels the main signal (“multipath interference”). The result: intermittent drops, high packet loss, and frustrating instability.
Rule of thumb: mount both bridges high enough to clear all midpoint obstacles by at least 3–5 meters.
Common Mounting Mistakes
- Mounting on a fascia board — easy to reach, but often fails to clear the neighbor’s roof peak or a hedgerow in between
- Ignoring seasonal changes — a link that works in winter may fail in summer when trees are in full leaf
- Using a too-short pole — an extra 2 meters of pole height can make the difference between -60 dBm (solid) and -78 dBm (unusable)
Step-by-Step Antenna Alignment
You cannot “eyeball” a 5 km link. Use the bridge’s built-in signal strength tools:
- Log into the bridge management interface (or watch the LED signal indicator)
- Horizontal sweep — slowly pan the antenna left until signal drops, mark it. Pan right until signal drops, mark it. Center between the two marks.
- Vertical sweep — repeat the same process tilting up and down
- Target RSSI: -55 dBm is excellent. -65 dBm is acceptable. Below -75 dBm, expect packet loss.
Weatherproofing Essentials
- Use the waterproof glands or boots included with the bridge
- Create a drip loop — a downward curve in the cable below the unit so water runs off instead of into the port
- Apply self-amalgamating tape around all outdoor connectors
- Choose 40 MHz channel width over 80 MHz for long-distance links — it sacrifices some peak speed but dramatically improves stability in rain and wind
How to Manage Bandwidth So One Neighbor Doesn’t Ruin It for Everyone
The hardware link is up and your neighbor has internet. Now comes the real challenge: keeping the connection fair when someone starts downloading a 50 GB game update.
Why You Must Set Bandwidth Limits
Without limits, a single device streaming 4K or downloading a large file will consume the entire Starlink pipe. Everyone else gets buffering, lag, and dropped calls. Starlink speeds also fluctuate (50–250 Mbps depending on satellite positions), making fixed-rate caps unreliable.
Use QoS with Smart Queue Management (SQM)
Standard QoS assumes a fixed line speed. For Starlink’s variable throughput, use a router that supports SQM (Smart Queue Management) or the CAKE algorithm. These dynamically prioritize small, latency-sensitive packets (VoIP, video calls, gaming) over bulk downloads.
| Traffic Type | Priority | What Happens Without QoS |
|---|---|---|
| VoIP / Zoom / Teams | High (critical) | Robotic voice, dropped calls |
| Online Gaming | High (latency-sensitive) | Lag spikes, disconnections |
| Web Browsing | Medium | Slow page loads |
| Streaming / Downloads | Low (bulk) | Buffers — but consumes most bandwidth |
Set Per-Household Bandwidth Caps
On your core router, assign each neighbor a VLAN (e.g., VLAN 10 for Neighbor 1, VLAN 20 for Neighbor 2). Then set per-VLAN bandwidth rules:
- Guaranteed minimum: 30–50 Mbps per household
- Burst limit: up to 100 Mbps when the link is idle
- This prevents any single house from monopolizing the connection while still allowing fast speeds when demand is low
Keep Each Household Isolated with VLANs
VLANs do more than manage bandwidth — they provide security. Without isolation, all households share one flat network (192.168.1.x). That means Neighbor B’s malware-infected laptop could scan your NAS, printer, or security cameras.
With VLAN isolation, each household gets internet access but cannot see anyone else’s devices. For even better separation, give each neighbor their own router at the receiving end so they manage their own Wi-Fi password and devices independently.
Real-World Example: Farm Cluster Sharing Starlink
David lives on a large rural property. Two tenant houses sit 4.8 km (3 miles) away across rocky terrain — trenching fiber would cost over $15,000 and require crossing a county road.
His setup:
- Point A (barn): Starlink dish + MikroTik router + MossLink WB630 bridge on a 6-meter pole
- Point B (house 1): WB630 receiver + indoor TP-Link router
- Point C (house 2): WB610H receiver + indoor router
Using a point-to-multipoint (PTMP) configuration, both tenant houses share the single Starlink feed. Each household gets a dedicated VLAN with a 60 Mbps cap. David’s own network is completely isolated. Total hardware cost: under $500.
Next Steps: Plan Your 5 km Starlink Link
Before ordering equipment:
- Check line of sight — open Google Earth, draw a line between the two locations, and look for elevation changes or tree cover at the midpoint
- Estimate mounting height — use a Fresnel zone calculator (free online) to determine how high your poles need to be
- Choose your bridges — for 5 km Starlink sharing, the MossLink WB630 and WB610H are the most popular choices in our lineup
- Plan your router — pick a managed router that supports VLANs and SQM/QoS before installation day
Need help designing your link? Browse the full MossLink Wireless Bridge collection or contact our team for a free consultation on your specific setup.
Tags
Share